
Google OIDC Setup: these instructions are largely based on OpenID Identity Connect
Create a new project
- Create a new Project as part of your organization. The example project will be PreludeOIDCProvider part of the Prelude Security organization.

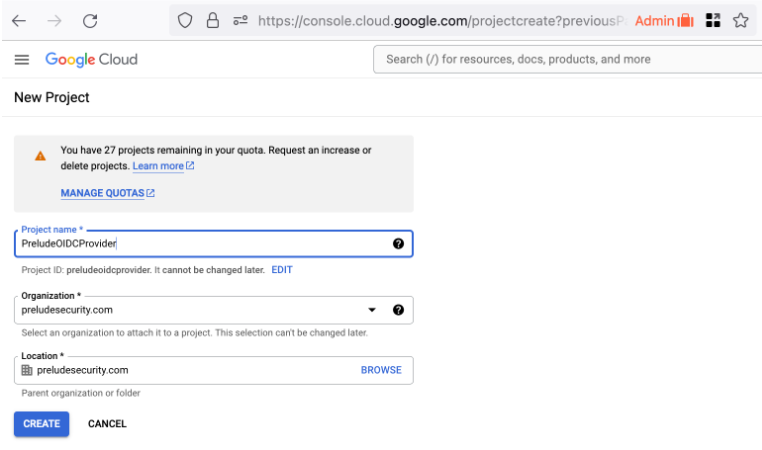
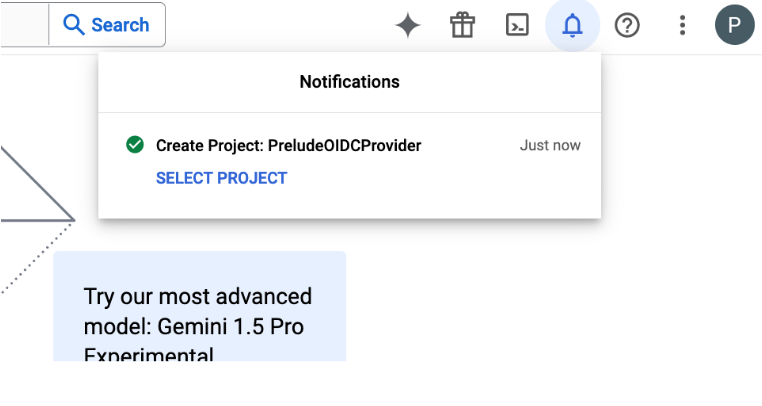
- Your project may take a few minutes to create, but you will get a notification. Select the project to move on.
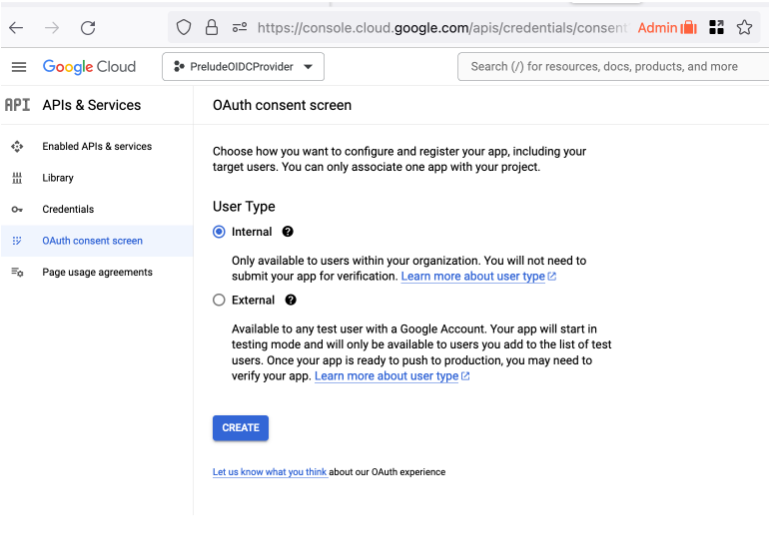
Create a Consent Screen
Before you can create credentials, you need to create a consent screen. This screen is shown to a Detect user when they first log in using OIDC. They have to consent to have their identity shared with Prelude.
The important values here:
- Type: Internal (you are not publishing this app to the world)
- Links back to the preludesecurity.com website for information on privacy and security: https://www.preludesecurity.com
- Authorized domain: preludesecurity.com (who is allowed to initiate the login flow)
- Developer Contact Info: [email protected] (a support contact in your organization for helping users with login issues)
Create a new internal Application
Configure some app domains and points of contact
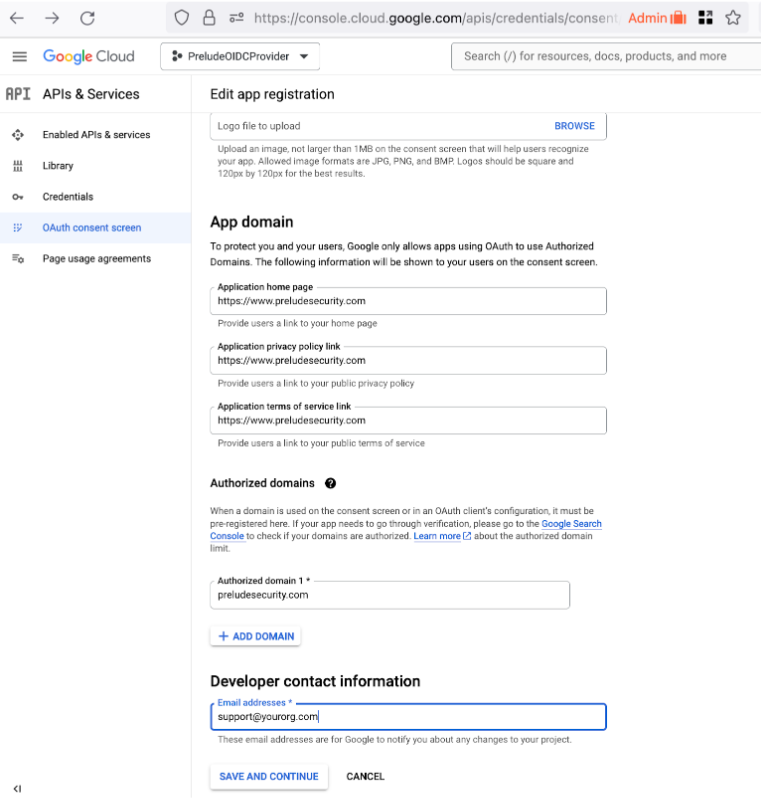
You do not need to add additional Scopes
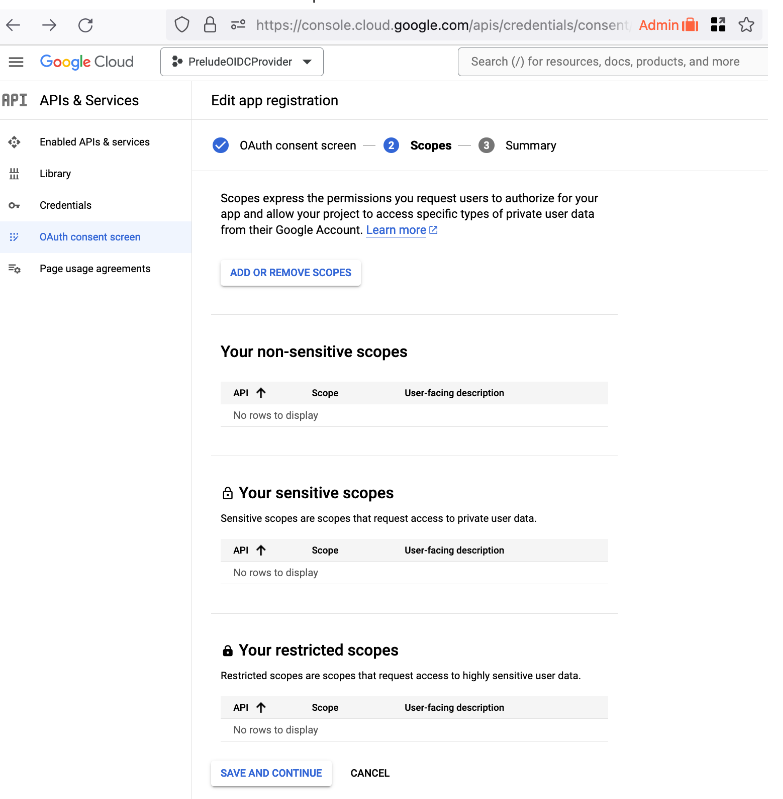
- Once you hit save and continue, you are done creating your application’s consent screen.
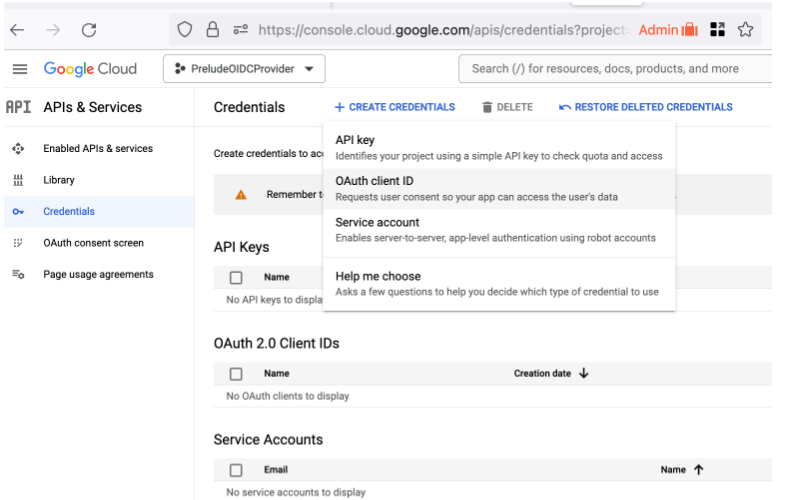
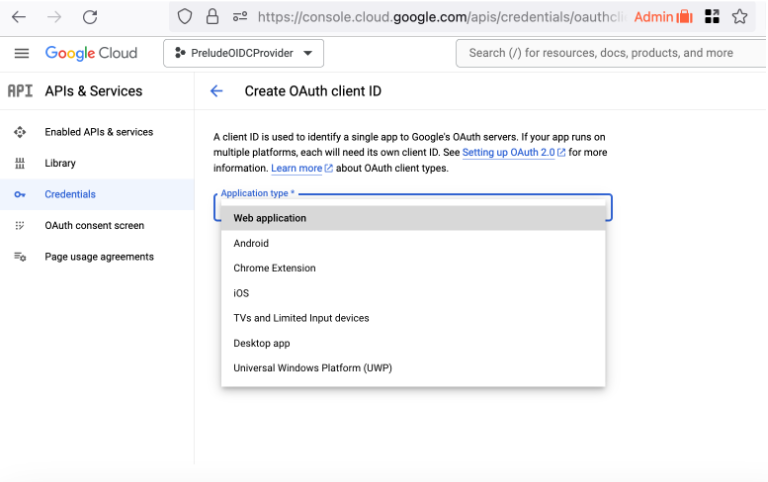
Create Oauth Client ID
Type: Web Application
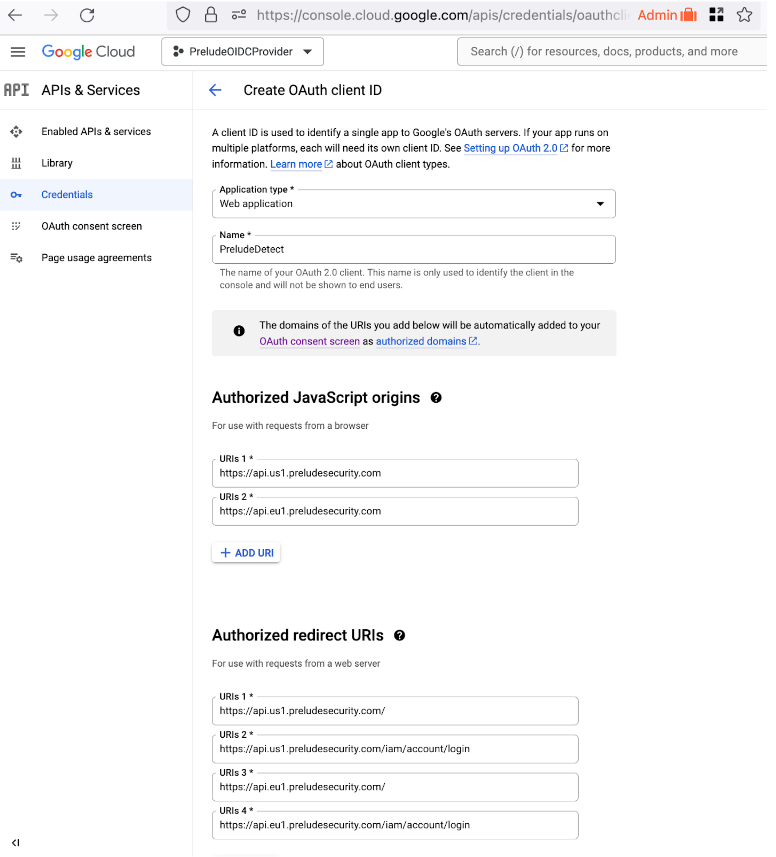
Name the client and Authorize some URLs to be OIDC clients
Important values:
- Name: PreludeDetect (You can customize this as you see fit)
- Authorized Javascript Origins
- https://api.us1.preludesecurity.com (us1 users)
- https://api.eu1.preludesecurity.com (eu1 users)
- Authorized redirect URIs
- https://api.us1.preludesecurity.com (us1 users)
- https://api.us1.preludesecurity.com/iam/account/login (us1 users)
- https://api.eu1.preludesecurity.com (eu1 users)
- https://api.eu1.preludesecurity.com/iam/account/login (eu1 users)
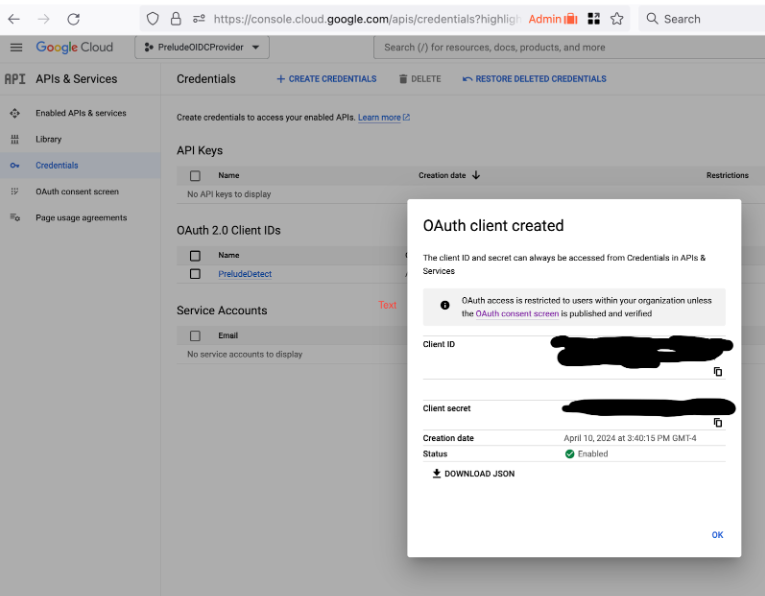
Create Credentials
These credentials will be imported into PreludeDetect to identify it as an OIDC client for your application.
Updated 20 days ago